This article focuses on the “Organizing” feature on Weava, and is part of the 4-series on-boarding guide to help you make the most out of Weava. To learn more about the other important features offered by us, please pay a visit to the following articles!
- Highlighting
- Annotating
- Organizing (this article)
- Collaborating
Research is all about staying ORGANIZED – your thoughts, your ideas, and your research. The Chrome Extension, particularly the highlighter pop-up (which we explained in greater detail in our “Highlighting with Weava” article), is meant to be the first initial approach to your work and workflow. Instead of going back and forth between your draft and research, Weava offers a distraction-free way to read and take notes as you go about your work – and to see your respective highlights and notes when you visit the specific PDF or websites later.
For some, depending on your exact work and needs, that may be sufficient and all you need. However, to make the most of Weava, there are plenty of additional features to help you stay organized and to manage your highlights and annotations.
Firstly, let’s dig into the Weava sidebar and the Weava dashboard.
The difference between the Weava sidebar and the Weava dashboard:
Before we begin elaborating further on the various ways you can stay organized with Weava, it is important that we first clarify the difference between what is commonly known as the “sidebar” (also known as the “Weava Chrome extension”), and what is commonly known as the dashboard (also known as the “Weava web app”). While you can quickly organize your work via the sidebar, the dashboard is capable of everything the sidebar can do, plus various additional features, such as generating citations, exporting your work, and more. This article will first cover the sidebar features, and then move on to some features exclusive to the dashboard/web application.
The Weava sidebar (also known as the Weava Chrome extension):
Click on the “W” icon on the extension bar on your Chrome browser and the Weava sidebar will pop up (or use the keyboard shortcut: Alt+Shift+S for Windows, Option + Control + S for Mac users). You can furthermore customize shortcuts for your extensions by clicking “managing extensions” and then “Keyboard shortcuts”.
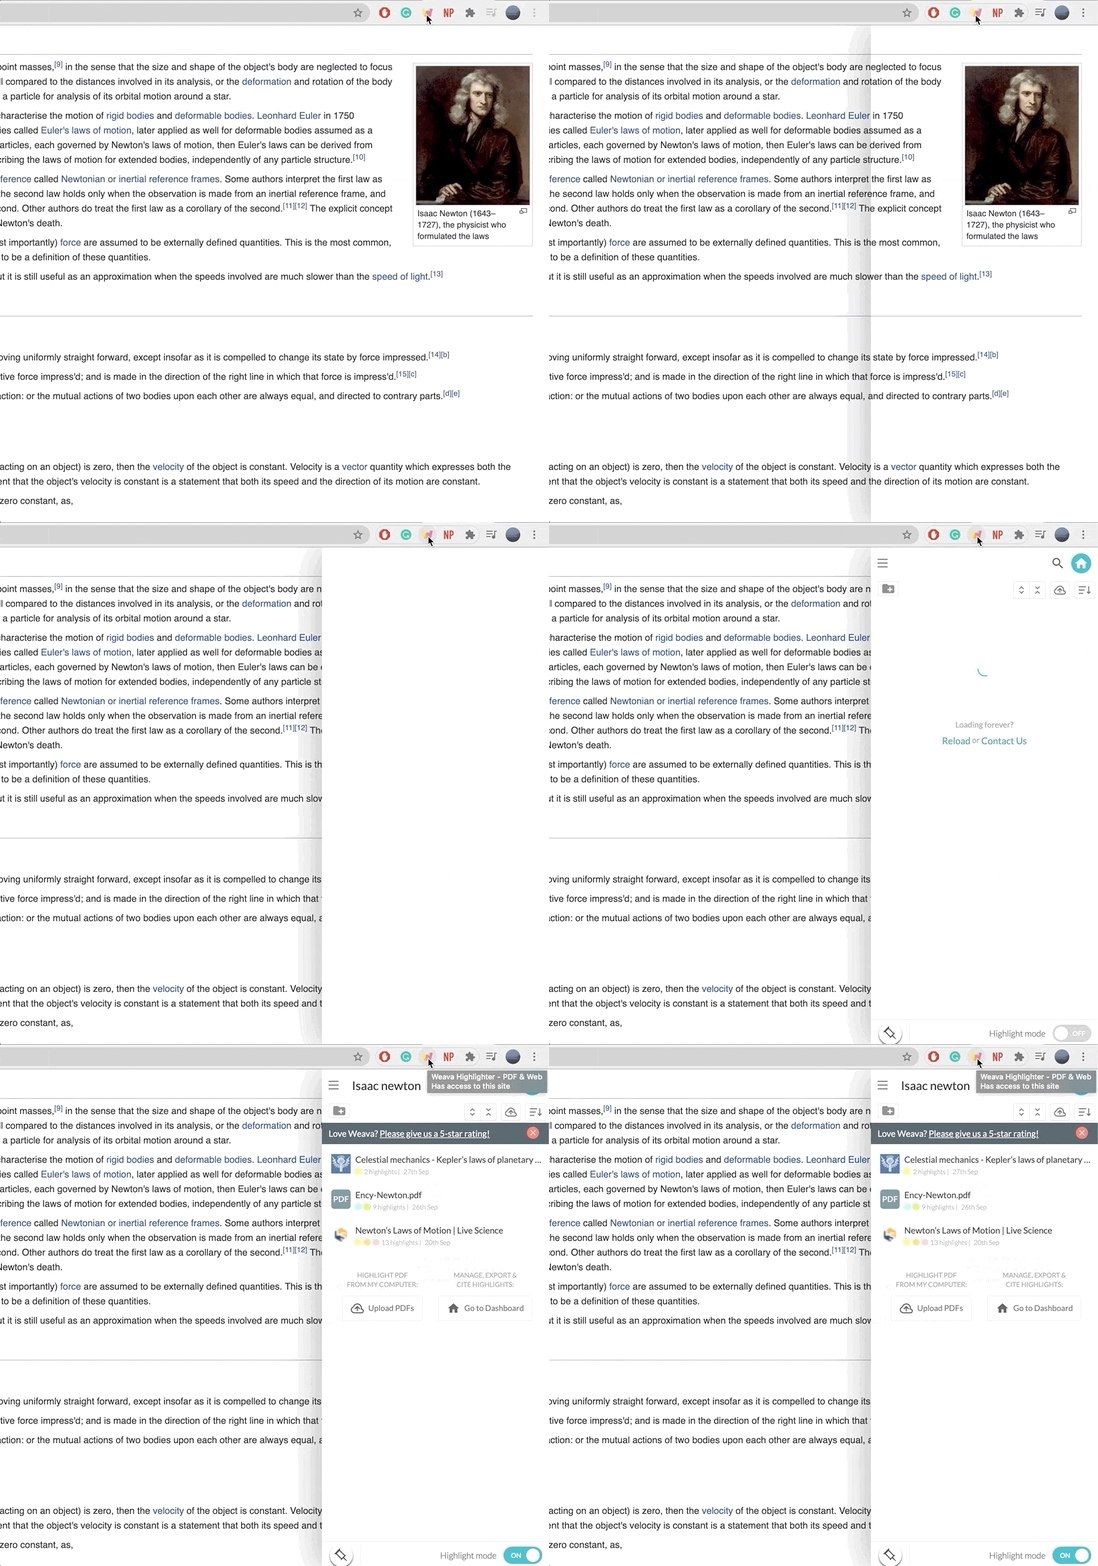
Click the hamburger menu icon to show your list of folders.
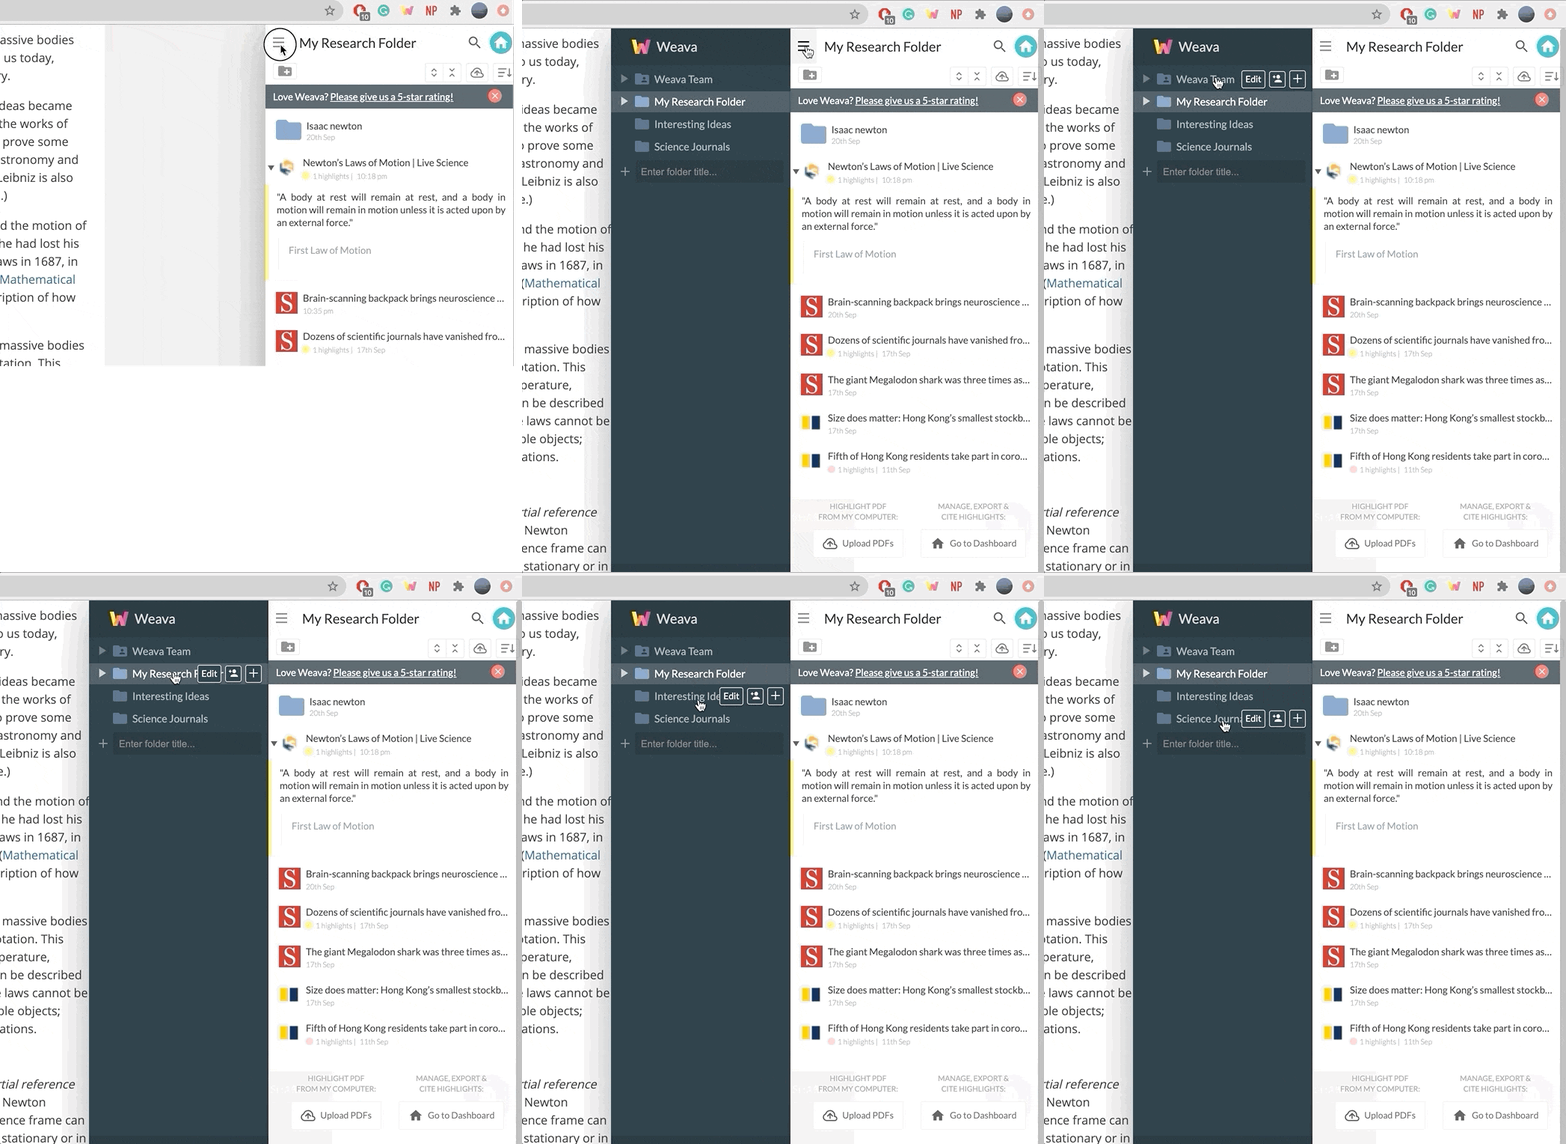
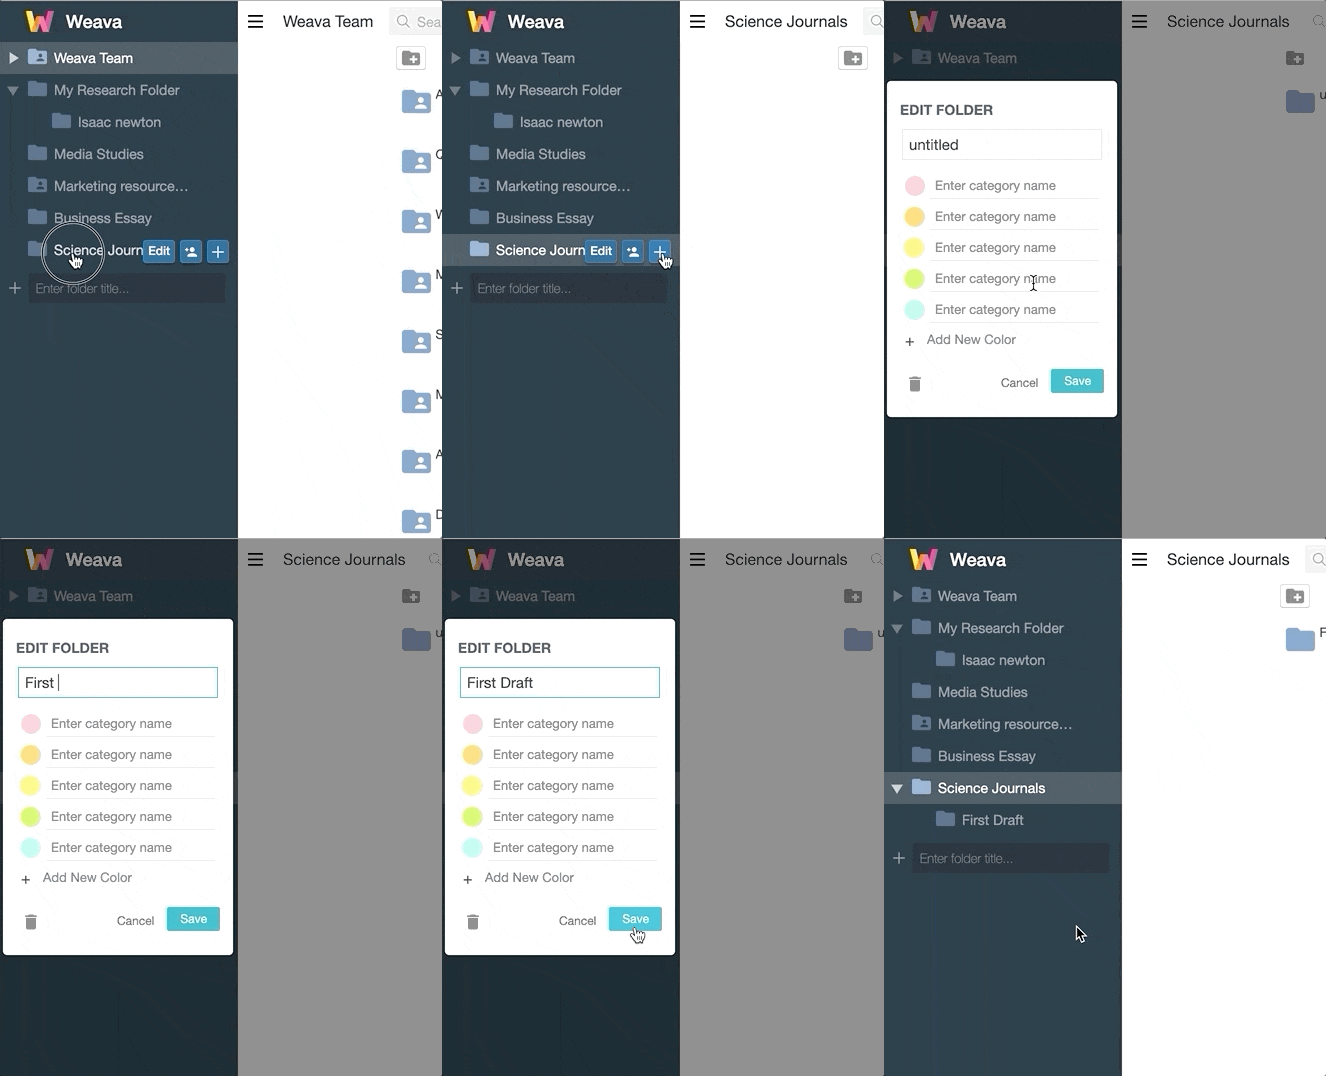
You can edit the collection folder to add color labels so that you can associate different highlight colors with different categories or concepts. This can be particularly useful when you are researching for an essay – where you want to better organize and categorize your research for different parts of your paper.

In the Weava sidebar you can also turn on/off the Weava highlighter (which is also achieved with the shortcut Alt+S (for Windows) or Option+S (for Mac).
Features that are available in both the sidebar and web app dashboard:
These following features are available in both the Weava sidebar and on the Weava dashboard. However, for simplicity sake, the following GIFs are only illustrating these from the Weava dashboard perspective.
Please also note that you can see a summarized table at the bottom of this article that explains which Weava features are available to the sidebar and dashboard respectively.
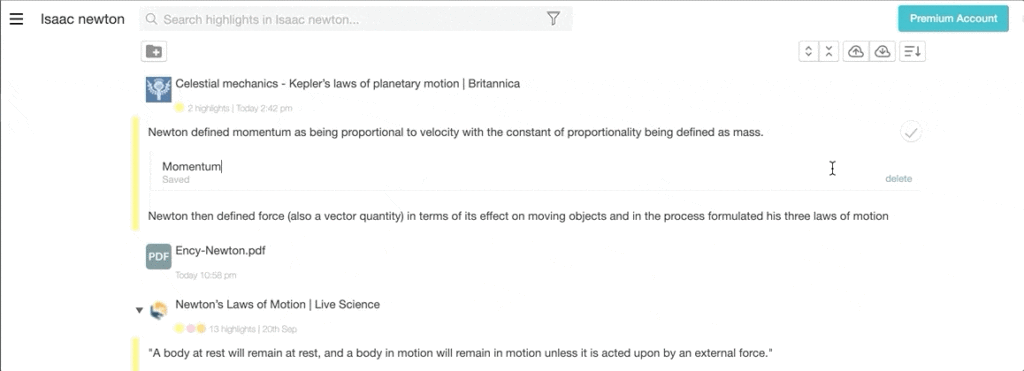
You can add, copy, edit and delete notes
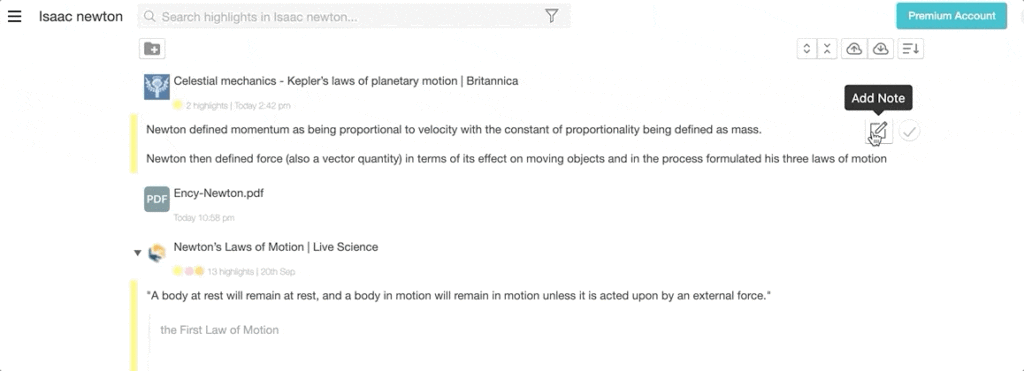

Copy and delete highlights
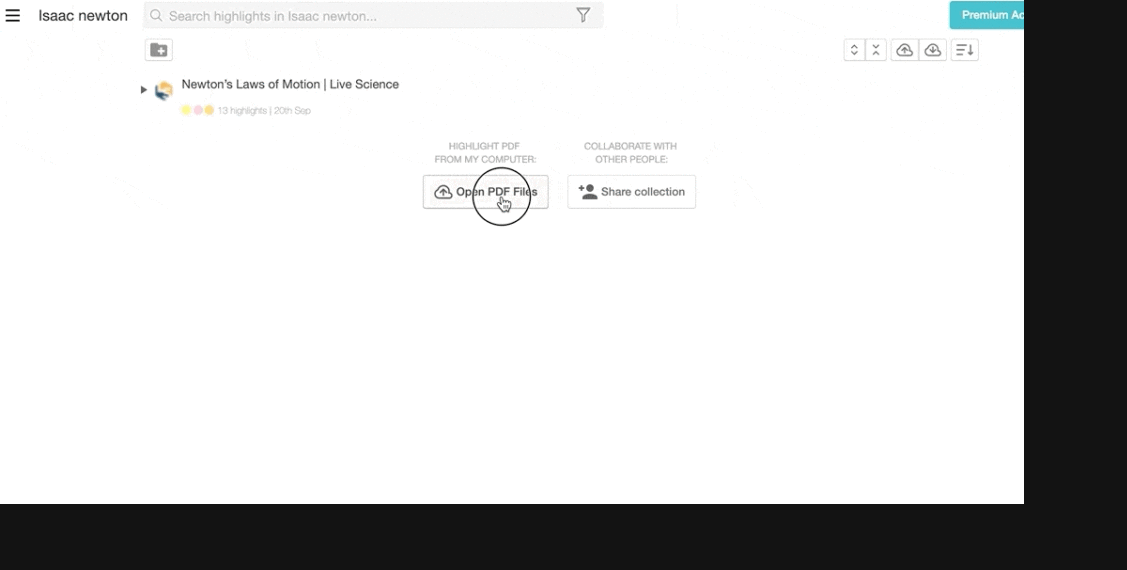
Upload PDFs
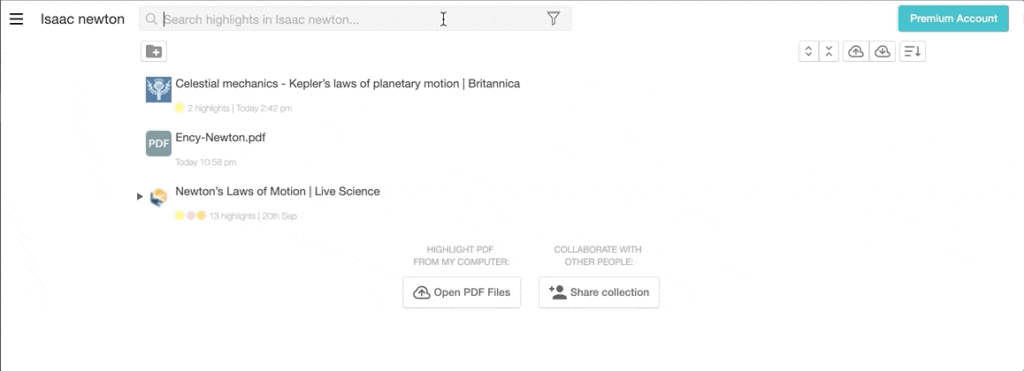
Search highlights
Filter by highlighting color
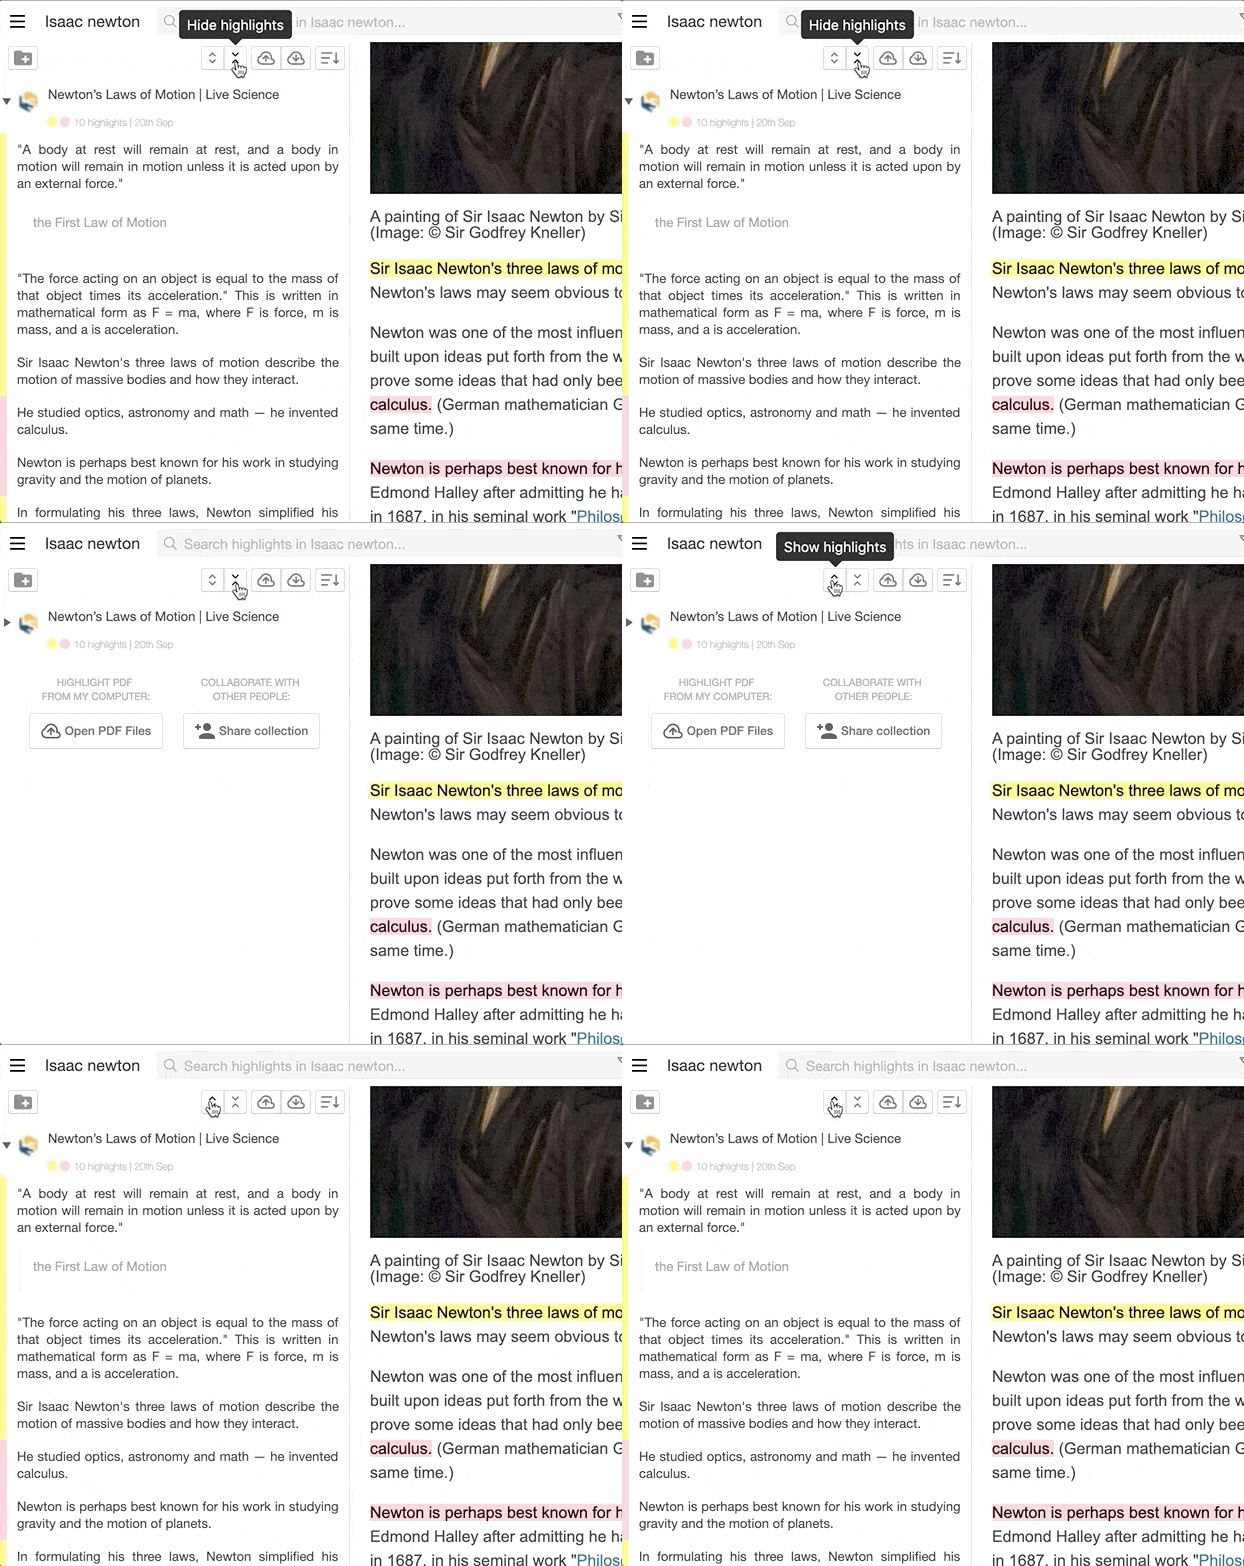
Show/hide highlights
Invite collaborators
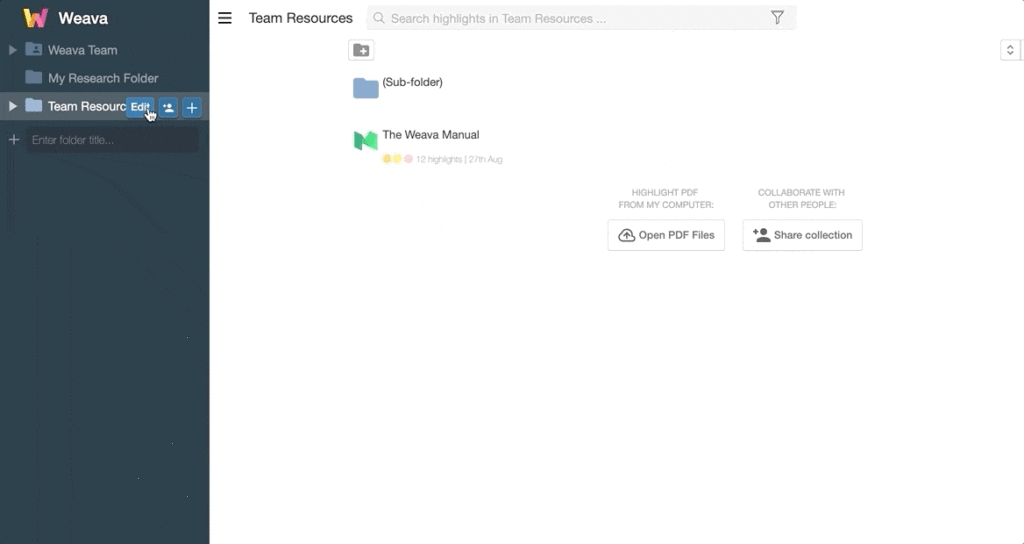
Add, edit and delete folders

Create sub-folders
Move highlights between folders
Add, edit and delete color labels

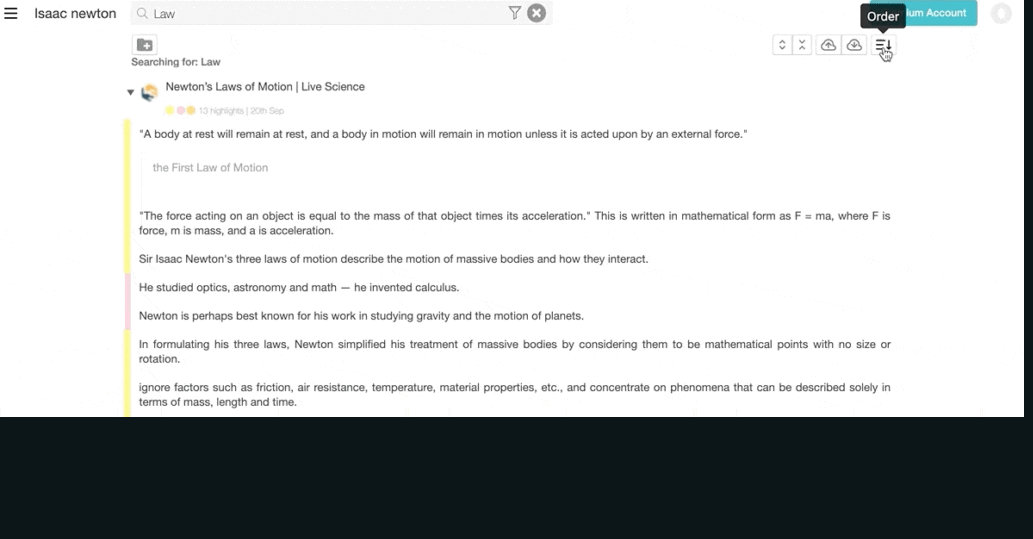
Order by “old to new/new to old”
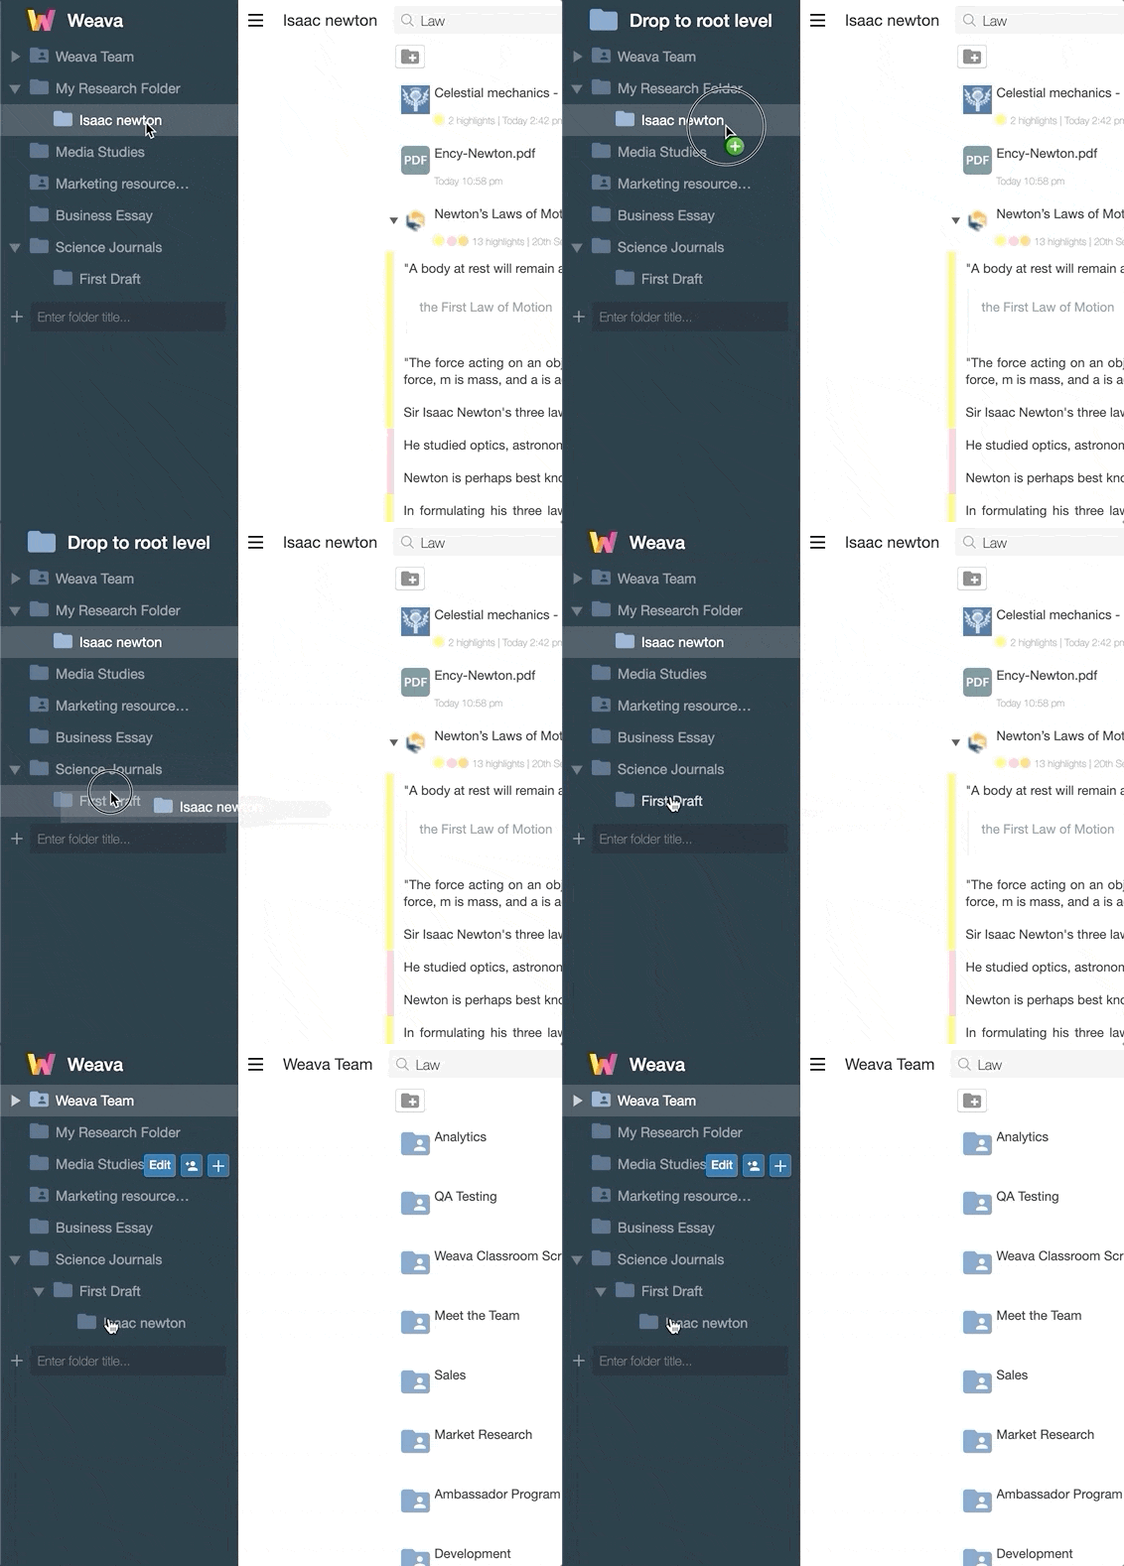
Drag folders into other folders
Unique aspects to the Weava dashboard:
There are several ways to navigate to the Weava dashboard. Among others, you can click the home button on the Chrome extension sidebar to head to the dashboard, or simply navigate directly to https://weavatools.com/app/dashboard.
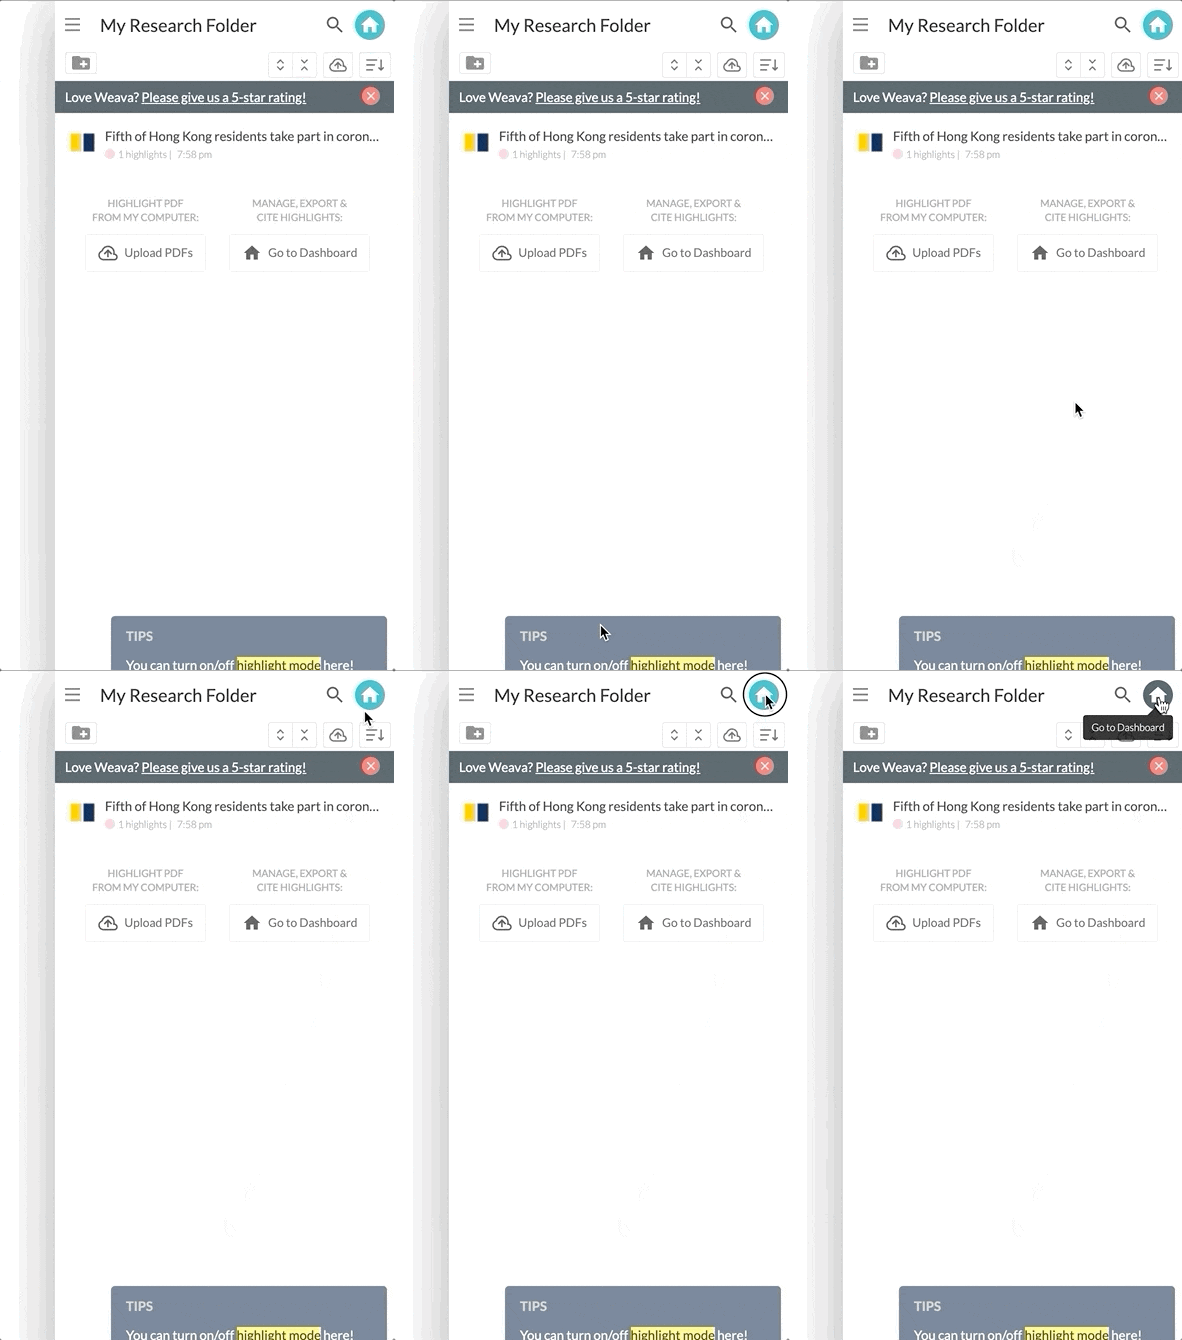
The Weava dashboard enables you to organize much further than the sidebar. It is a one-stop platform that allows you to view all your highlights directly on their respective websites and PDFs. Beyond the things you can already do on the Chrome extension sidebar, in the Weava dashboard you can also:
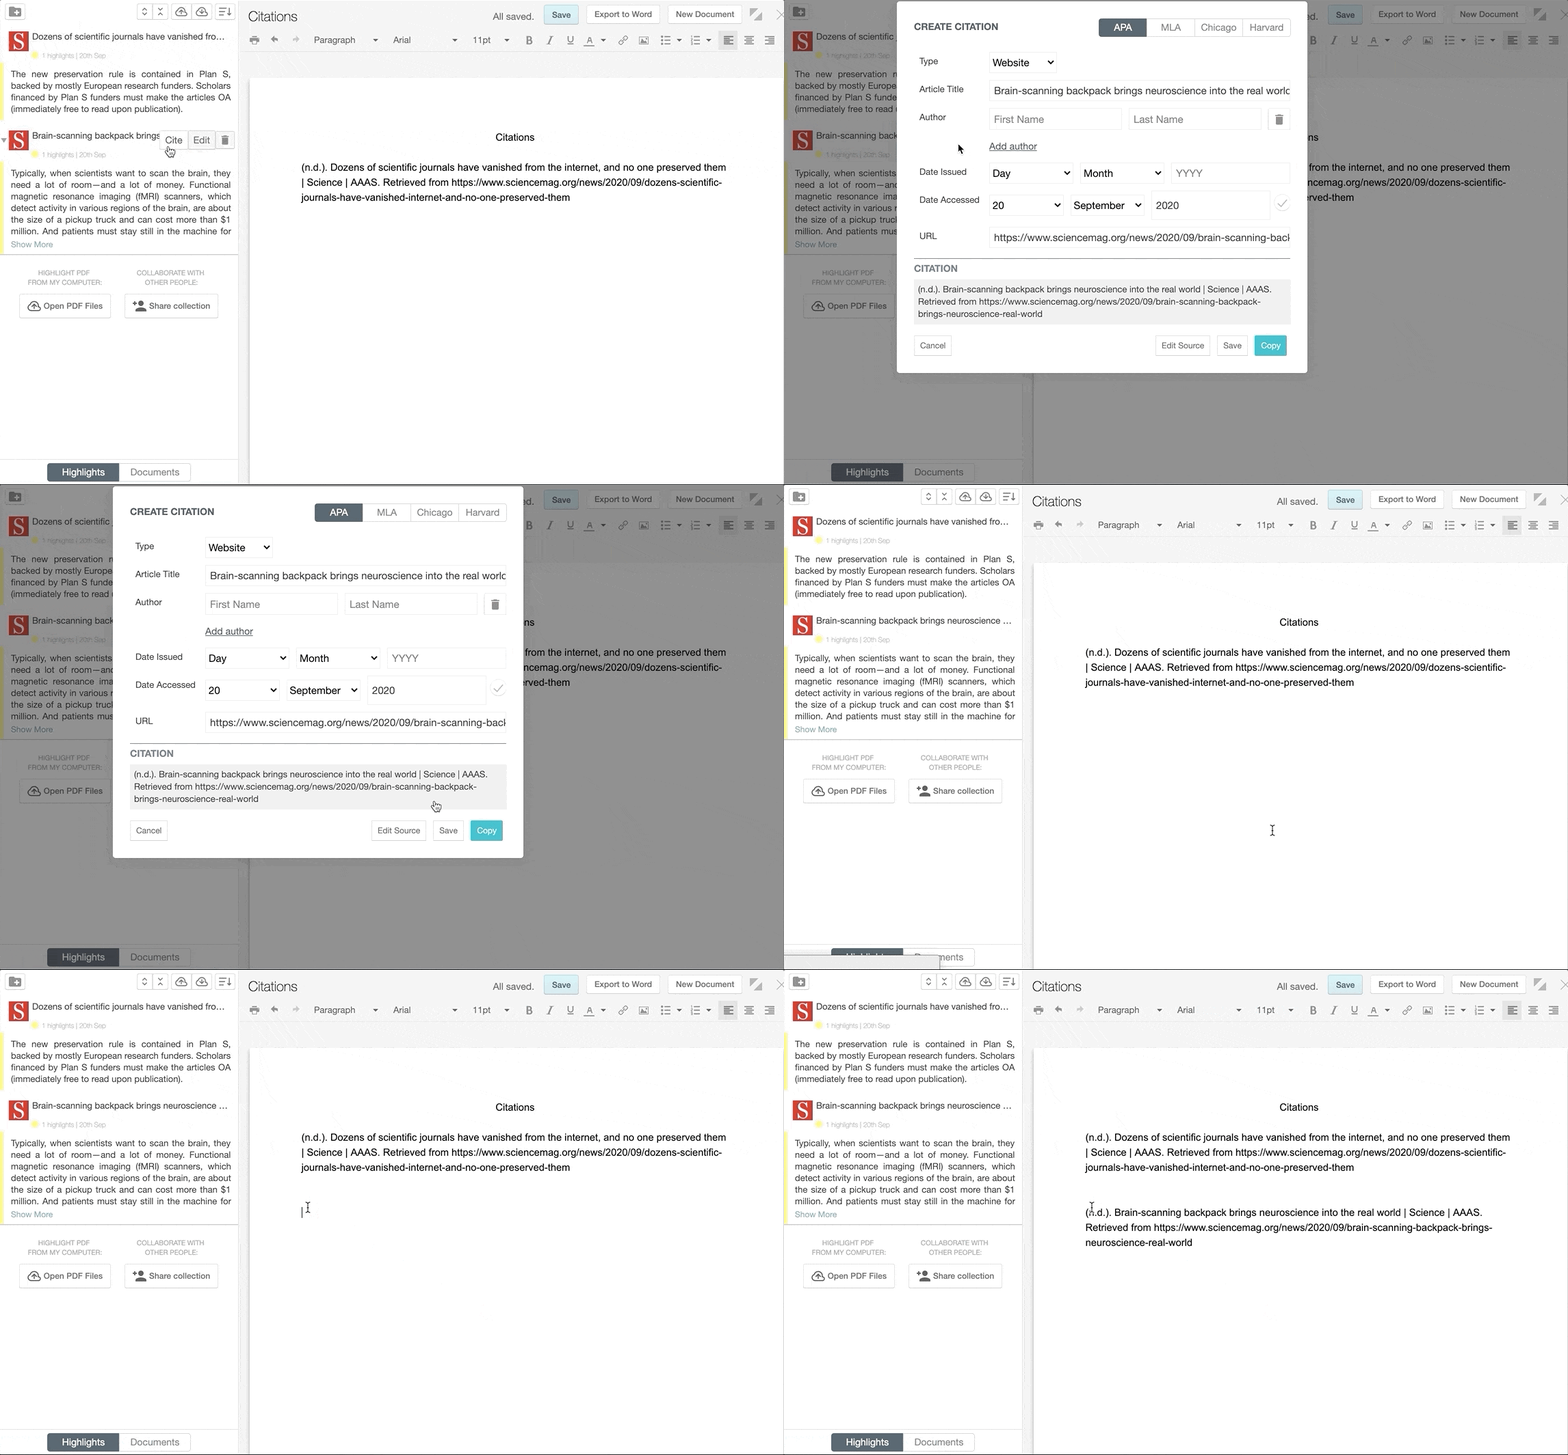
1. Create and copy citations
To cite the sources used, click on the “Cite” button and fill in the required information. Weava will by default try to pull in as much relevant information as possible for you to make this as efficient and easy as possible. Once the citation looks OK, then click “Copy”.
2. Export your work
You can export your work into Microsoft Word, Excel, .csv, or .txt by clicking the export button on your dashboard. We hope to bring additional improvements and ways to export in the future.
3. Create Weava documents.
Other than highlighting and editing websites and PDFs, you can also create Weava documents saved in your folders on the dashboard.
To create a new document, simply navigate to the “Documents” button at the bottom of the page and click “New Document” – you will be taken to a document interface.
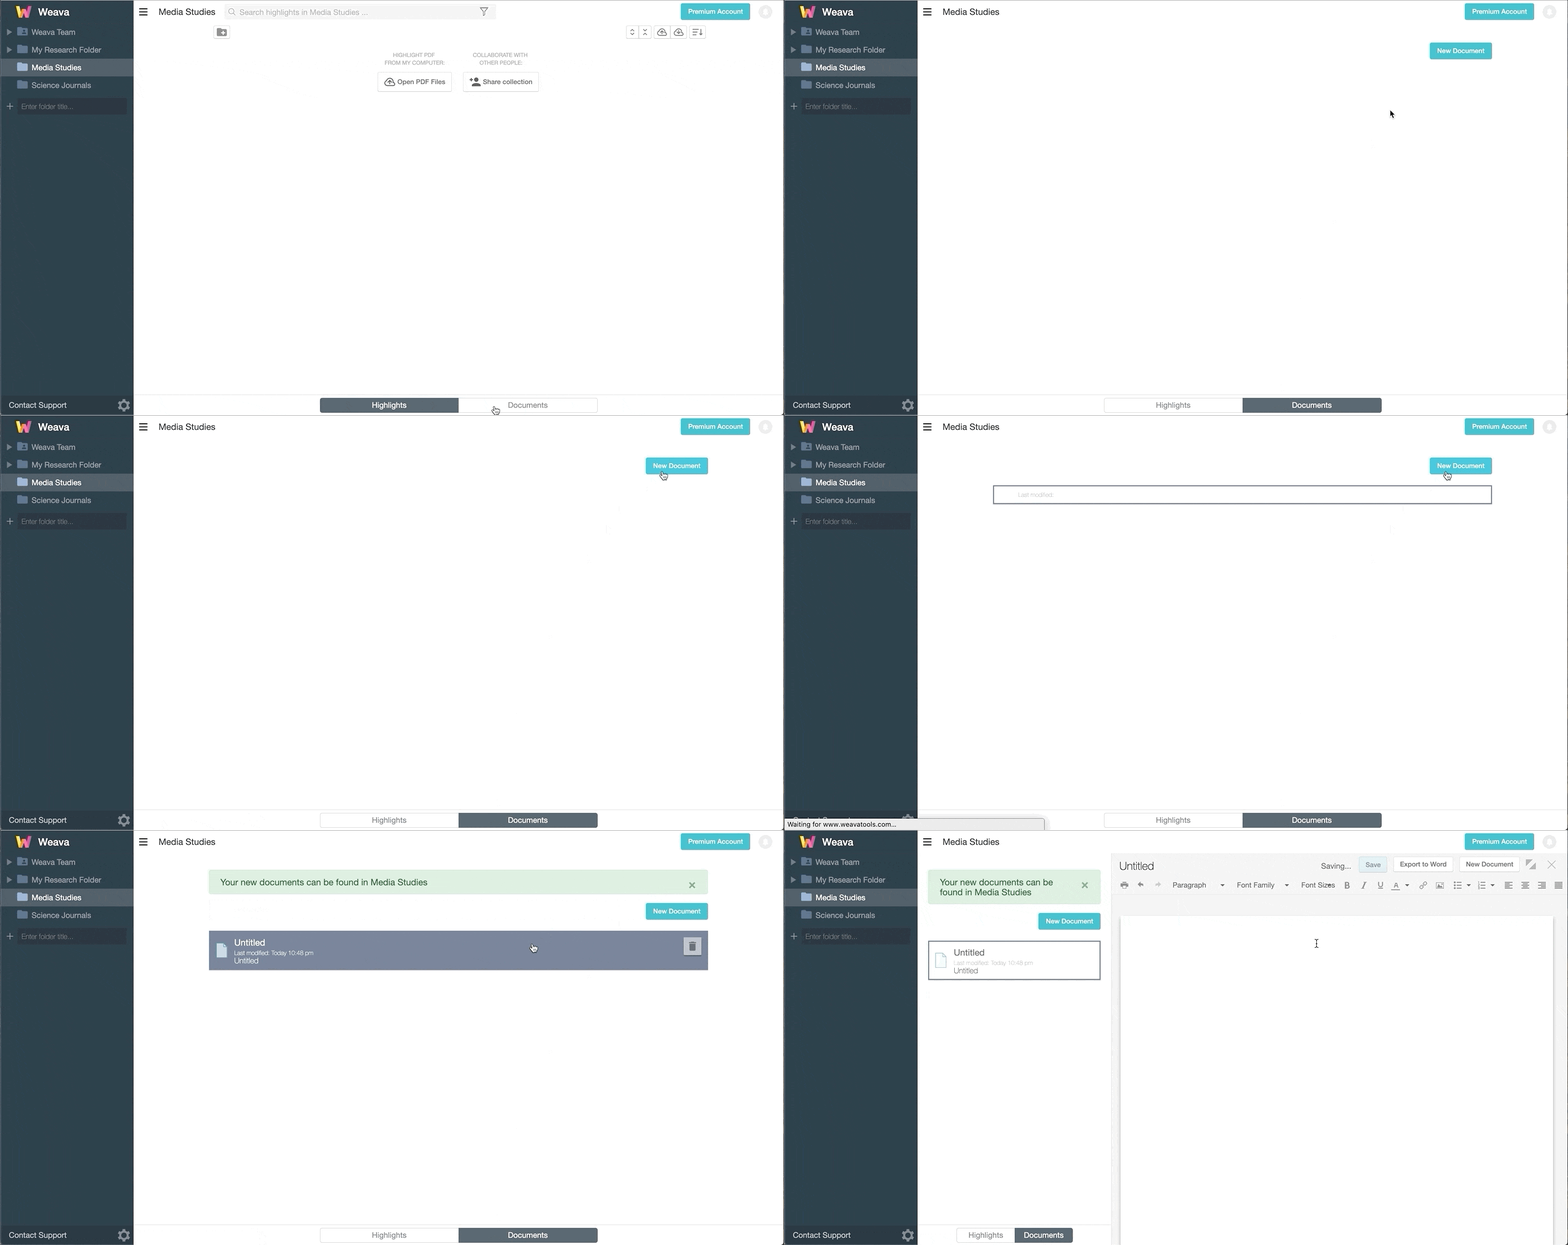
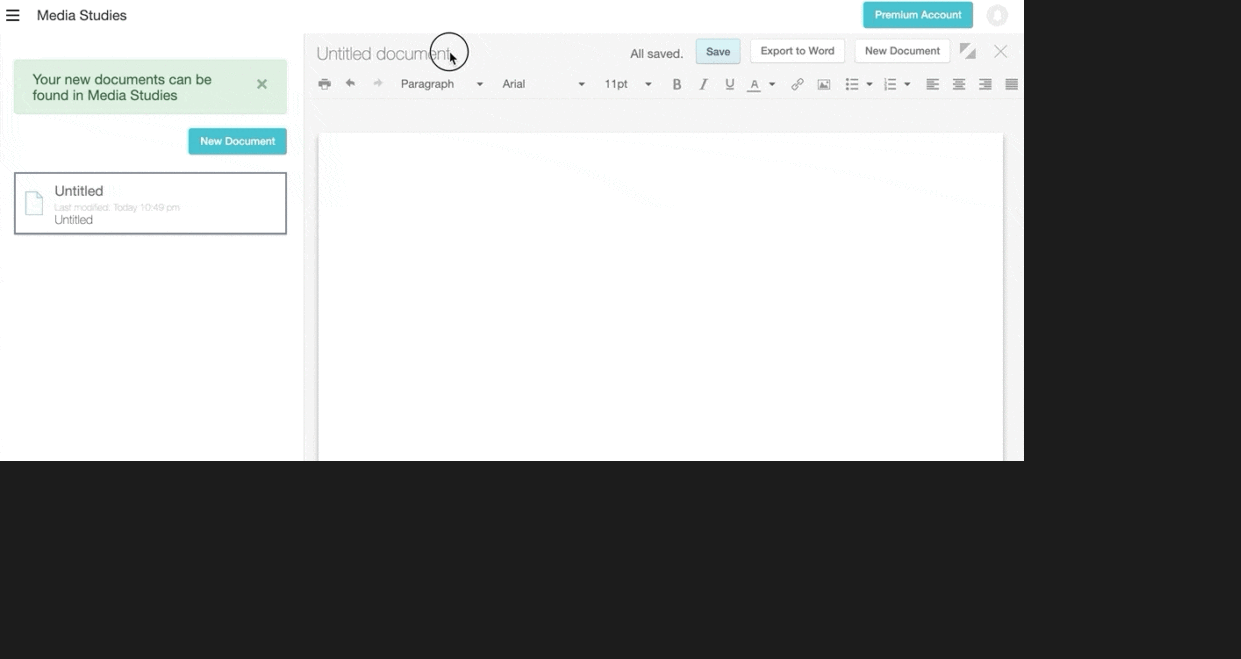
You can then enter the document title, and start creating your new document! Importantly, you can also drag and drop your highlights into the document.
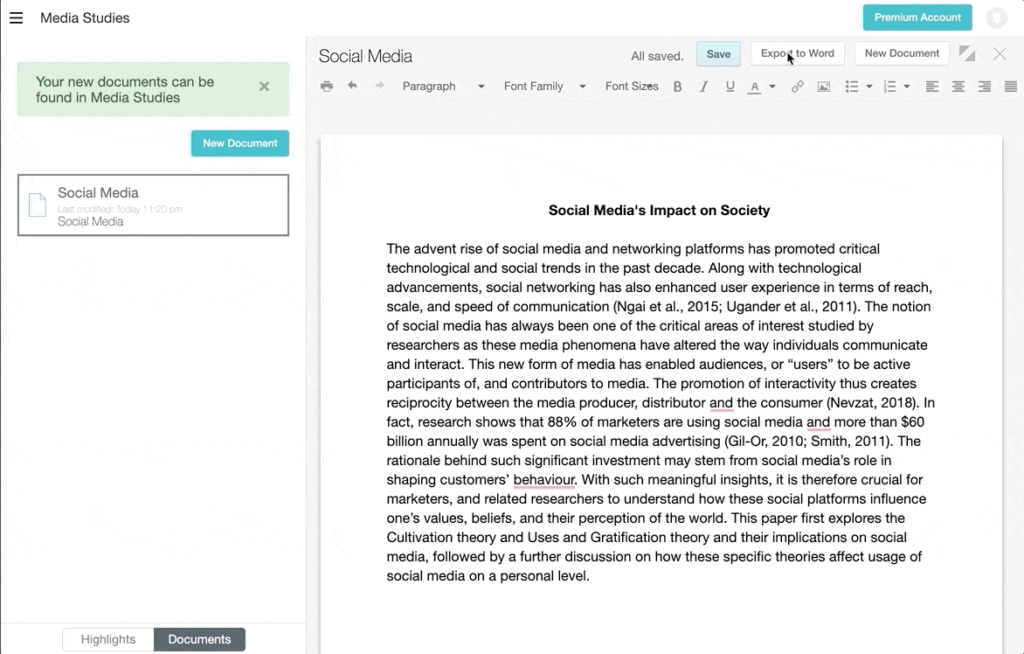
Your documents can be exported to the form of a word document. Do so by simply clicking the “Export to Word” button on the top right corner.
4. Continue editing on iFrame.
You can click on a highlight on your dashboard and the original website or PDF will show up in your Weava dashboard inside an iFrame where you can easily continue to highlight and work on your research.
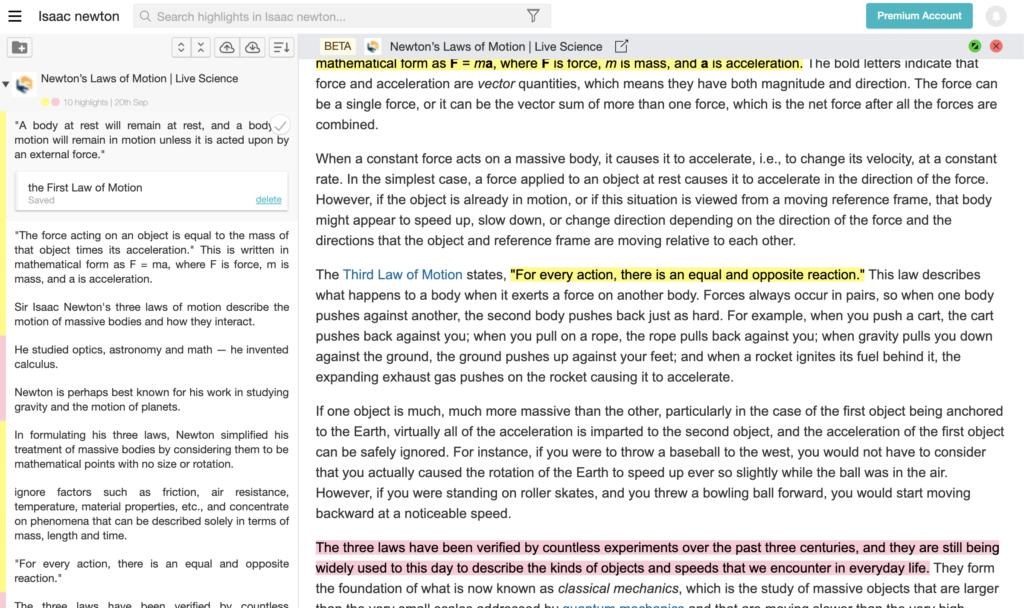
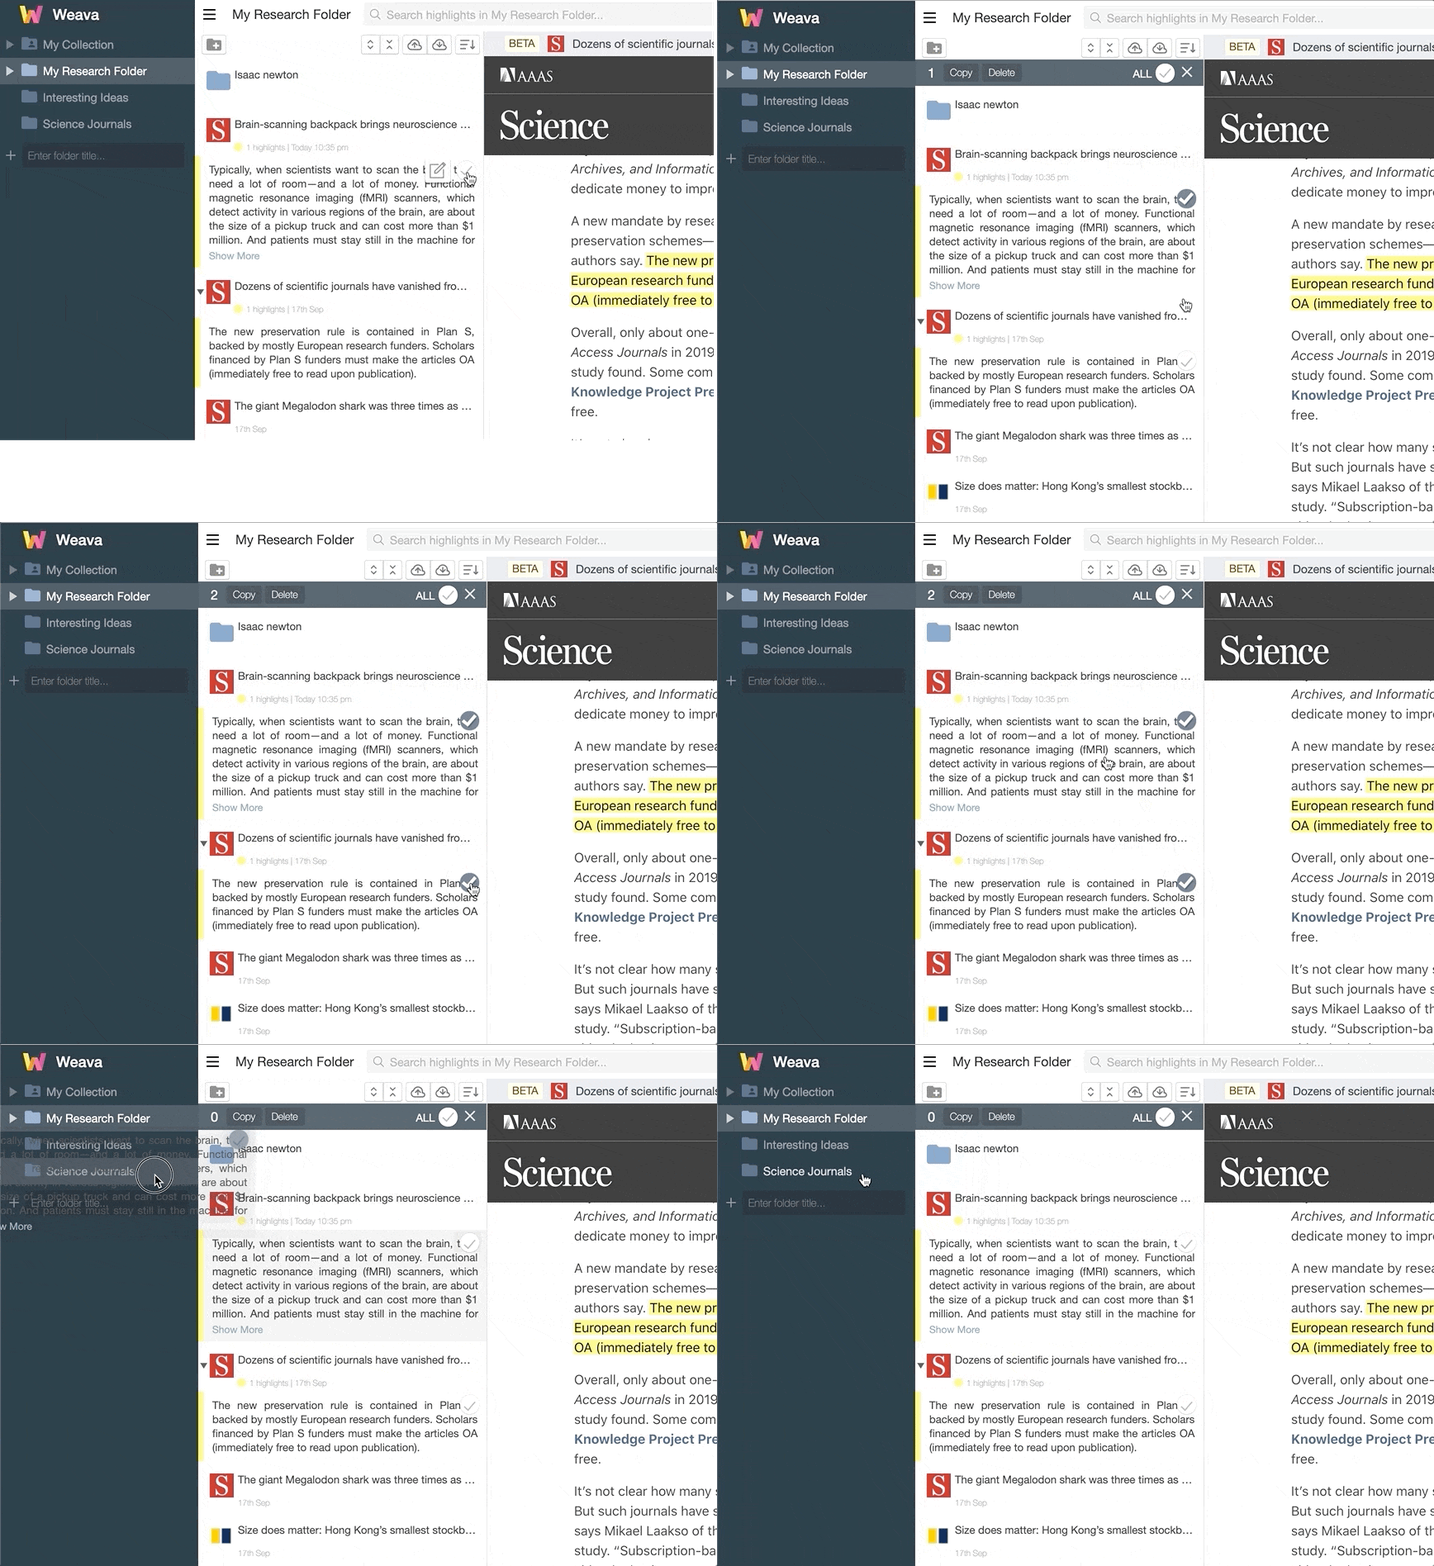
5. Move several highlights at once from one folder to another.
Select the highlights you want to move by clicking on the tick icon in the Weava dashboard. Then simply drag those to a respective folder. You can also click the “ALL” button to select all highlights from the respective folder.

6. Updating URLs of websites/PDFs that has changed file paths
It is possible that websites and local/online PDFs you have highlighted in the past may change their URL or file paths. We have therefore made it easier for you to update the source of the website and file so that you can still see your highlights correctly. Please consider visiting our FAQ article: https://weavatools.atlassian.net/servicedesk/customer/portal/1/article/163741698 for a detailed step-by-step guide to solve such challenges.
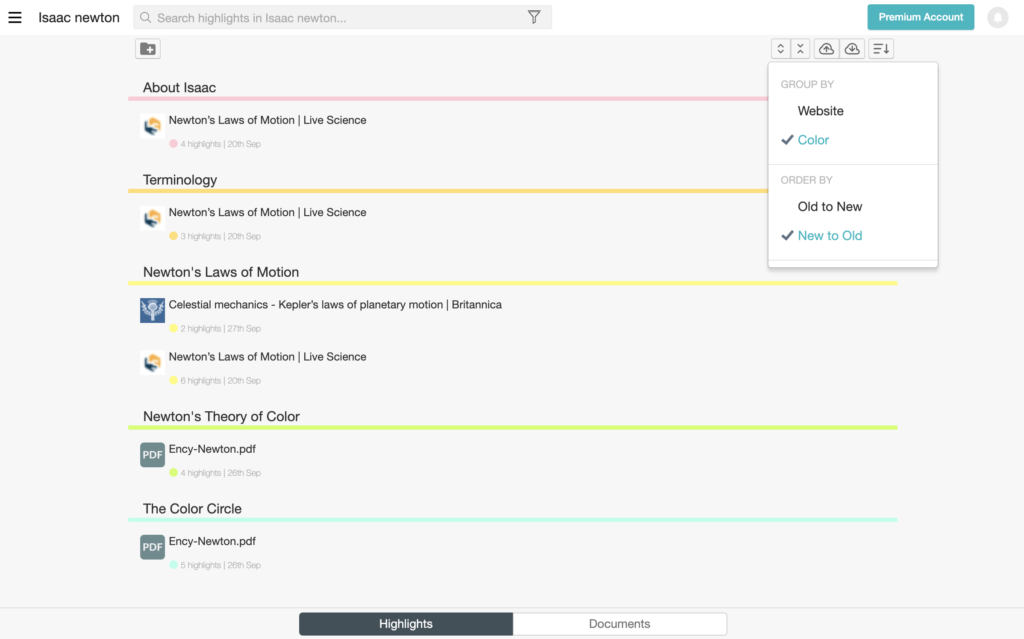
7. Group highlights by color
Weava also allows you to group your highlights across different websites and PDF files by color. This makes it much easier for you to organize and visualize your research especially when your highlighters are color-labelled. To learn more about color-labelling, you can refer to our “Highlight with Weava” article here.

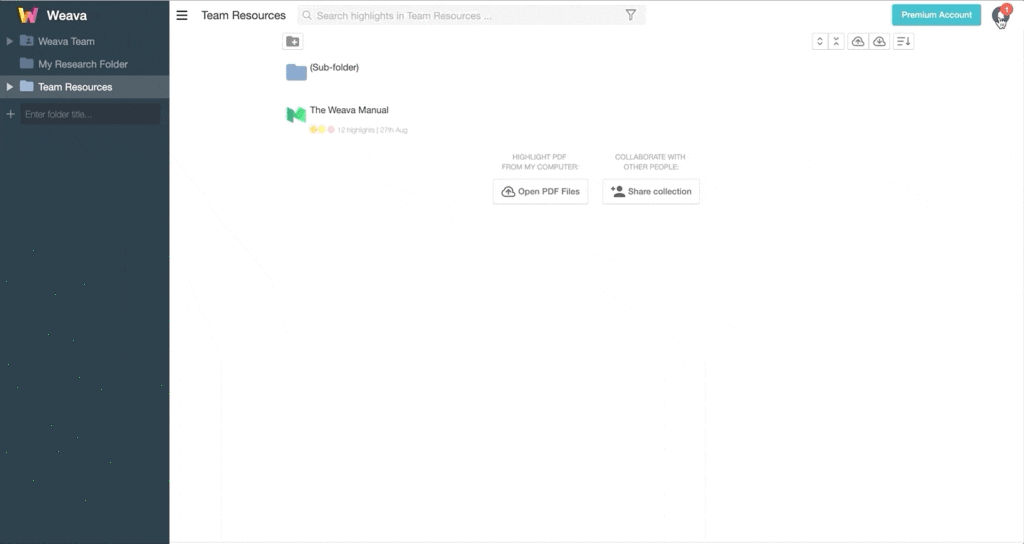
Notifications/Accept folder invitations
You can view folder invitations by clicking on the notification icon located on the top right corner of the dashboard, then select accept to be added as one of the contributors to the shared folder.
Sidebar and dashboard – Table overview
The following table summarizes the differences between the Weava Chrome extension (the sidebar) and the Weava web application (the dashboard).
| The Weava Sidebar | The Weava Dashboard | |
| Add, edit and delete notes | ✓ | ✓ |
| Copy highlight/note | ✓ (individual) | ✓ (also multiple) |
| Search | ✓ | ✓ |
| Highlight color filter | ✓ | ✓ (+ also image filter) |
| Upload PDF | ✓ | ✓ |
| Show/hide highlights filter | ✓ | ✓ |
| Invite collaborators | ✓ | ✓ |
| Add, edit and delete folders | ✓ | ✓ |
| Create sub-folders | ✓ | ✓ |
| Move highlights between folders | ✓ | ✓ |
| Add, edit and delete color labels | ✓ | ✓ |
| Order by “old to new/new to old” | ✓ | ✓ |
| Drag folders into other folders | ✓ | ✓ |
| Open website/PDF | ✓ (directly to source) | ✓ (inside dashboard iFrame) |
| “Select all” highlights | ✘ | ✓ |
| Create citations | ✘ | ✓ |
| Export highlights/notes | ✘ | ✓ |
| Edit source URL of website/PDF | ✘ | ✓ |
| Create Weava documents | ✘ | ✓ |
| Group highlights by color | ✘ | ✓ |
| Accept folder invitations | ✘ | ✓ |
| Weava notifications | ✘ | ✓ |
That’s it for this article! Next up in the on-boarding series, please proceed to “Collaborate in Weava” to learn more about how you can collaborate with your colleagues and friends in Weava
